Onboarding Documentation for Git and GitHub
"This is a documentation for Git and GitHub for those who are kickstarting thier joruney"
By Shivam
01/09/2025
Welcome to Git and GitHub at ChaiCode Cohort!

Introduction
Welcome to the onboarding documentation for Git and GitHub at ChaiCode! This guide is designed to help you navigate the essential tools that are fundamental to modern software development.
Why Git and Github?
Git is a powerful version control system that allows developers to track changes in their code, collaborate with others, and manage project history efficiently. GitHub, on the other hand, is a cloud-based platform that hosts Git repositories, enabling seamless collaboration among team members.
At ChaiCode, we believe that mastering Git and GitHub is crucial for every developer. These tools not only streamline the development process but also foster a culture of collaboration and transparency. By using Git and GitHub, you can easily contribute to projects, review code, and maintain a clear record of your work. This documentation will guide you through the basics of using these tools, ensuring you have the knowledge and skills to thrive in our collaborative environment. Let's embark on this journey together and unlock the full potential of version control!
Basics of Git and Github
What is "version control" and why should you care?
VCS stands for Version Control System. It is a tool that helps manage and track changes to source code or other files over time. VCS is essential for software development and other projects where maintaining a history of changes, collaboration, and versioning is critical
Why do we need VCS(Version Control System)?
- Tracking Changes It records changes to files over time, enabling developers to see who changed what and when.
- Collaboration Multiple people can work on the same project simultaneously without overwriting each other's work.
- Version History It keeps a history of all changes, making it easy to revert to previous versions if needed.
- Backup and Recovery Acts as a backup for the project.
What is Git?
Git is a version control system VCS designed to track changes in source code and collaborate efficiently with others. It is widely used for software development due to its speed, flexibility, and support for non-linear workflows (e.g., branching and merging).
Importance of Github
GitHub is a cloud-based platform that provides hosting for Git repositories. It serves as a collaborative space where developers can store, manage, and share their code with others. GitHub enhances the capabilities of Git by offering a user-friendly interface and additional features that facilitate teamwork and project management.
- Centralized Repository: GitHub acts as a central hub for all project files, making it easy for team members to access the latest version of the codebase.
- Continuous Integration/Continuous Deployment (CI/CD): GitHub integrates with various CI/CD tools, allowing teams to automate testing and deployment processes. This leads to faster development cycles and more reliable releases.
- Community and Open Source: GitHub hosts millions of open-source projects, fostering a community where developers can contribute, learn from each other, and collaborate on shared interests.
Installation and Setup
To install Git, you can use command line or you can visit official website and download the installer for your operating system.
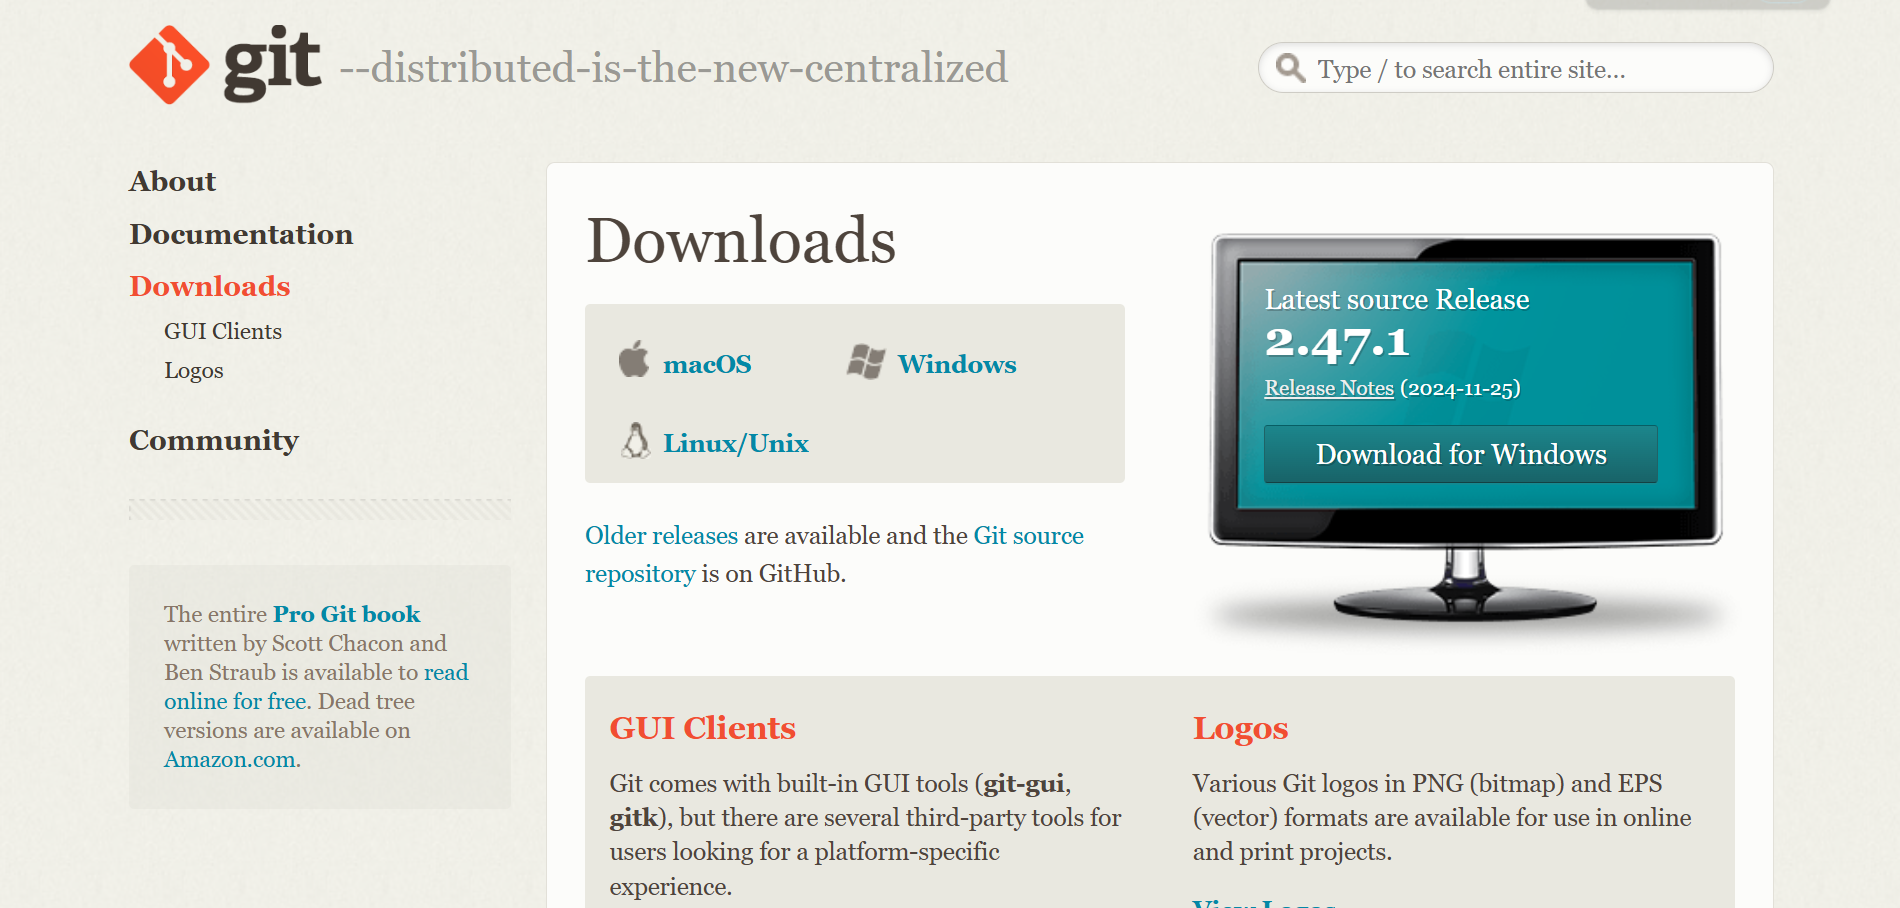 Git is available for Windows, macOS, and Linux and is available at here
How to configure Git with username and email
Let’s setup your email and username in this config file. I would recommend you to create an account on github and then use the email and username that you have created.
git config --global user.email "your-email@example.com"
git config --global user.name "Your Name"Now you can check your config settings:
git config --listCreate Github Account
Creating a GitHub account is a straightforward process. Follow these steps to get started:
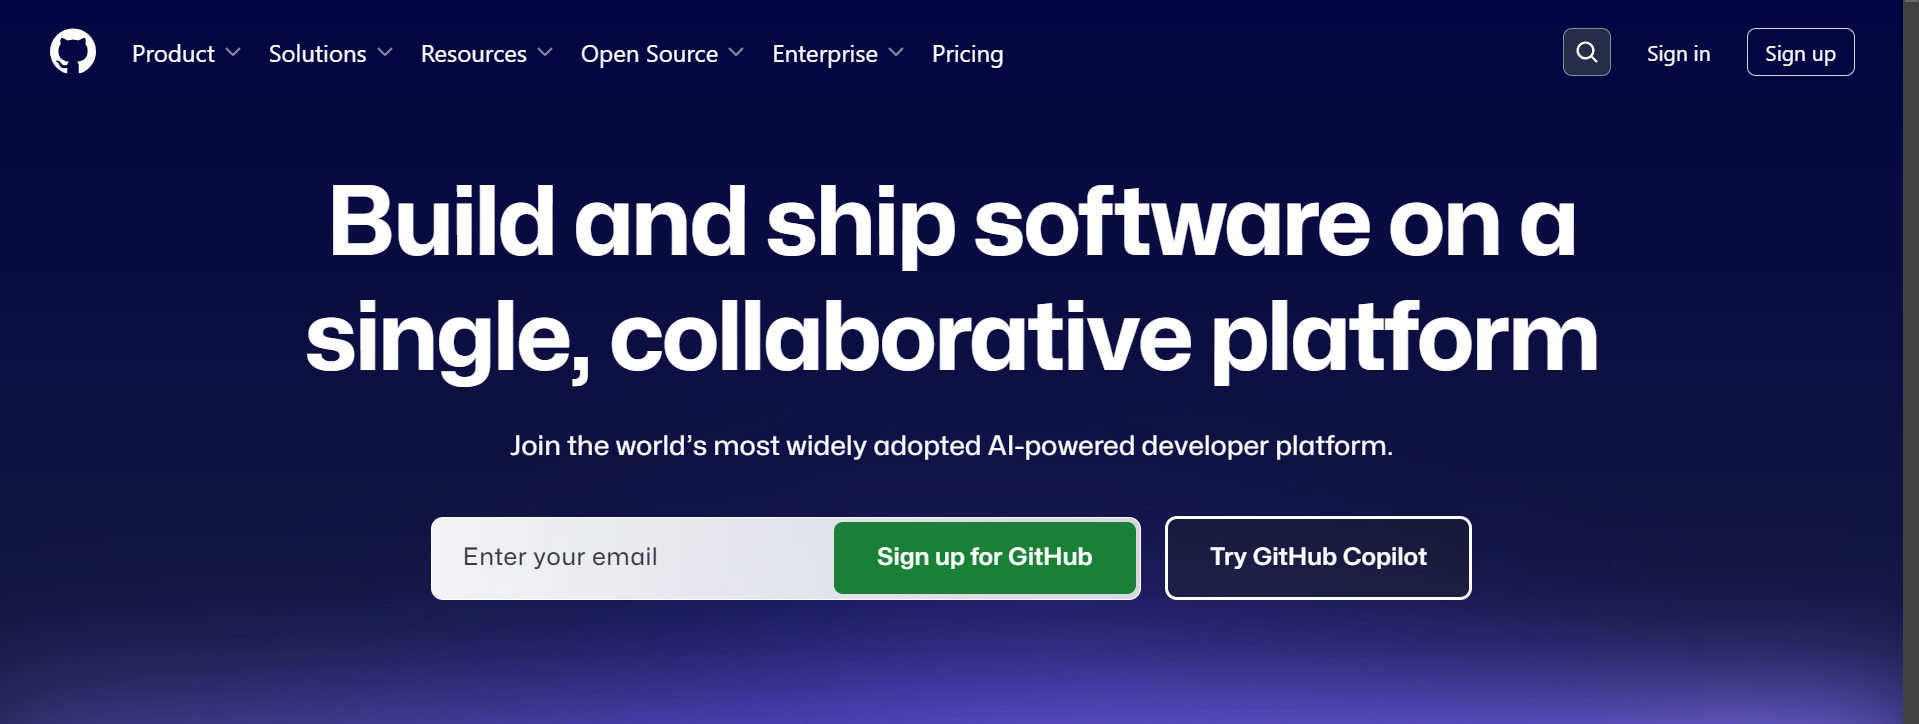
Step 1: Visit the GitHub Website
Go to the GitHub homepage.

Step 2: Click on "Sign up"
On the top right corner of the page, click on the Sign up button.
Step 3: Enter Your Details
You will be prompted to enter the following information:
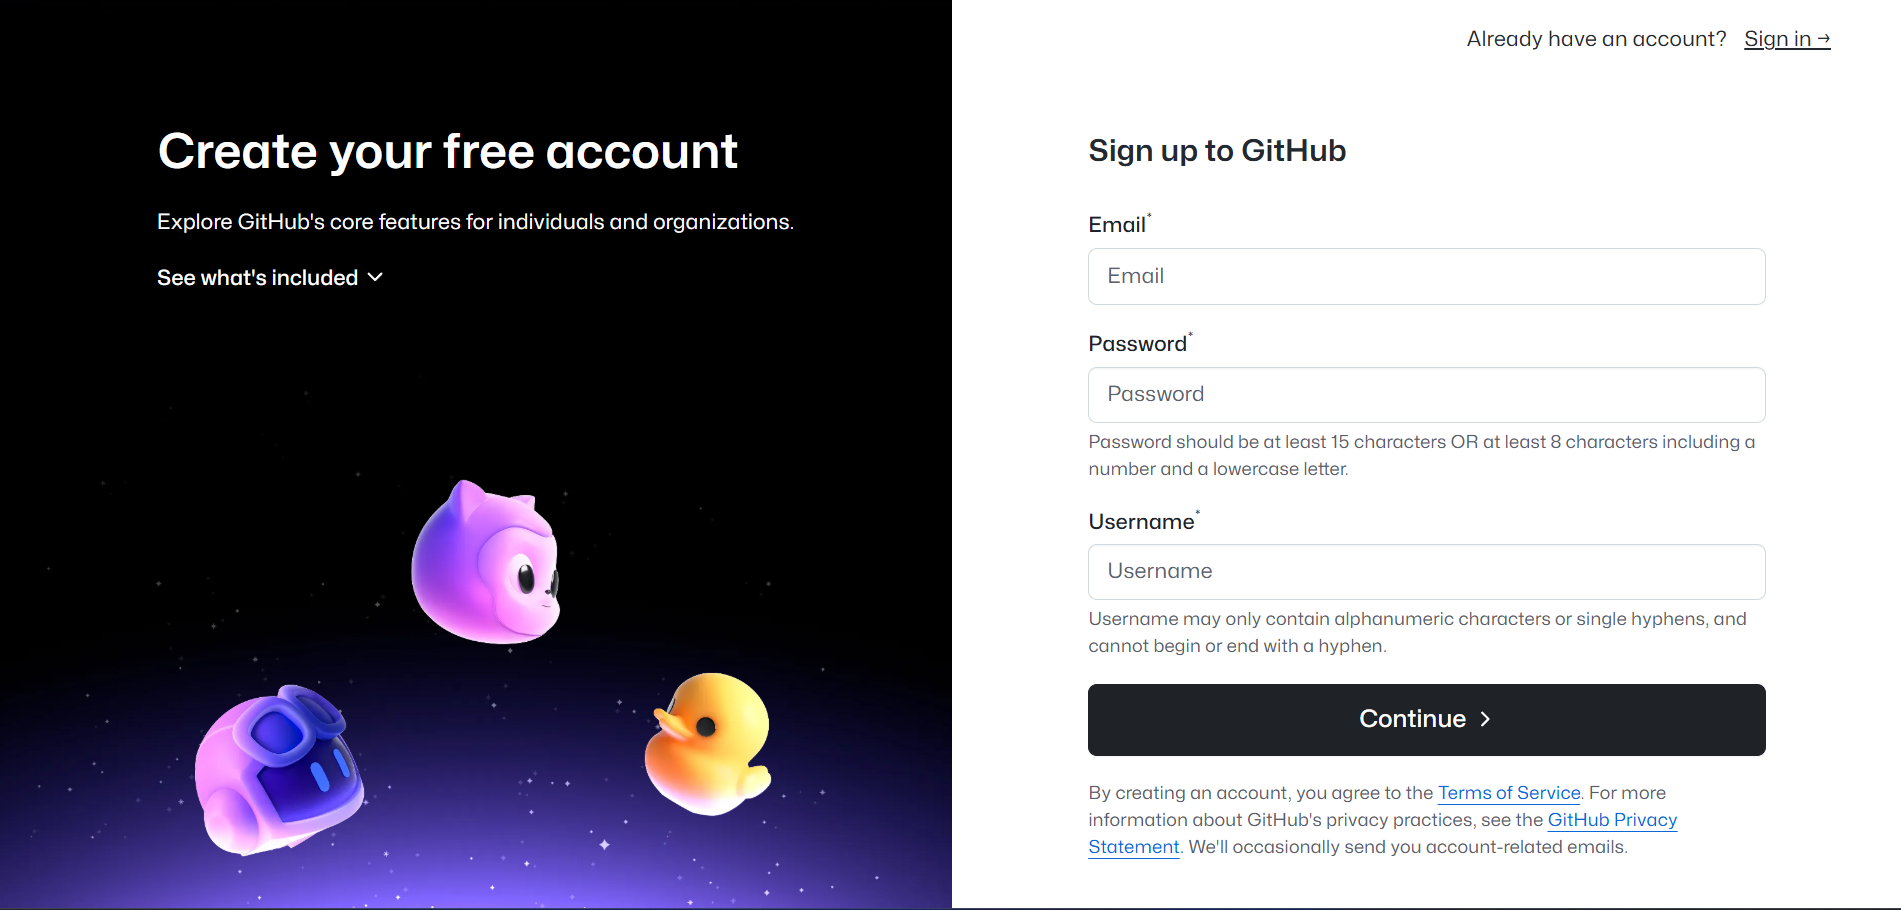
- Username: Choose a unique username that will be your identity on GitHub.
- Email Address: Enter a valid email address that you have access to.
- Password: Create a strong password for your account.
Step 4: Verify Your Account
GitHub may ask you to verify your account by completing a CAPTCHA. Follow the on-screen instructions to complete this step.
Step 5: Choose Your Plan
You will be presented with different plans. You can choose the Free plan, which is suitable for most users starting out.
Step 6: Verify Your Email Address
Check your email inbox for a verification email from GitHub. Click on the verification link in the email to confirm your email address.
Step 7: Explore GitHub
 You have successfully created your GitHub account. You can now start exploring repositories, creating your own projects, and collaborating with others.
Additional Resources
- GitHub Documentation
- GitHub Learning Lab for interactive tutorials.
- Git Book
Cloning Repository
1. Copy the Repository URL
- Go to the repository's page on a platform like GitHub, GitLab, or Bitbucket.
- Click the Code button (or equivalent) and copy the URL (HTTPS, SSH, or Git protocol).
Example:
git clone https://github.com/ChaiCode/example-repo.git2. Open Your Terminal
Navigate to the folder where you want to clone the repository using the cd command:
cd /path/to/your/folderStep 3 : Run the git clone Command
Use the git clone command with the copied URL:
git clone <repository-url>For example, if the repository URL is https://github.com/ChaiCode/example-repo.git
git clone https://github.com/ChaiCode/example-repo.gitStep 4: Navigate to the Cloned Repository
After cloning, change into the repository directory:
cd repoBasic Git Commands
These are some of the most commonly used commands in git. They will help you navigate your project and manage it efficiently.
To check your git version, you can run the following command:
git --version- Initialize a new Git repository
git init
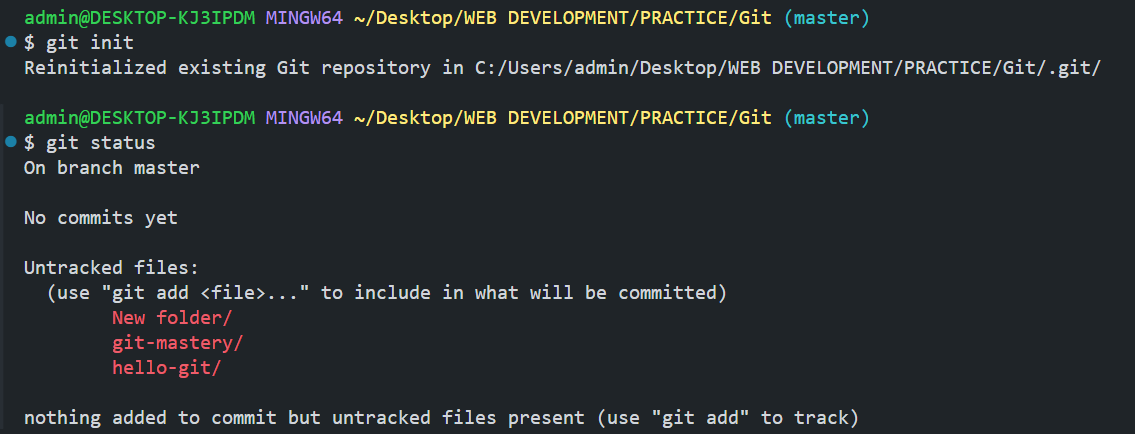 2. Show the status of the working
directory
2. Show the status of the working
directory
git status
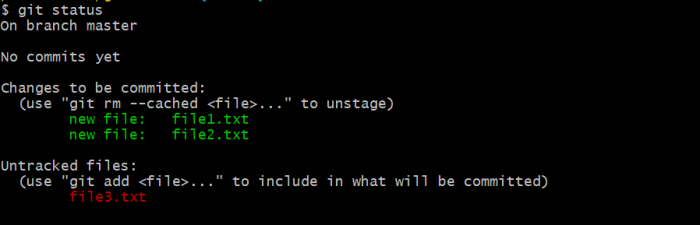
- Stage all changes in the current directory
git add .- Commit staged changes with a message
git commit -m "message" - Push commits to a remote repository
git push -u origin maingit push - View commit history
git log - for oneline
git log --onelineComplete Git Flow

Commit Messages Rules
Commit messages clarify what and why changes were made, aiding collaboration and debugging. They provide a clear history of the codebase, improving project traceability and helping developers quickly understand changes without reviewing the code, ensuring efficient workflows.
Rules
-
Use the present tense ("Add feature" not "Added feature").
-
Capitalize the first letter.
-
Keep the message short (50 characters or less).
-
Use prefixes like fix:, feat:, chore:, docs: for categorization.
Example
feat: Add tea selection feature fix: Resolve login issue for tea enthusiastsdocs: Update README with chai varietiesBranches in Git
Branches are a way to work on different versions of a project at the same time. They allow you to create a separate line of development that can be worked on independently of the main branch. This can be useful when you want to make changes to a project without affecting the main branch or when you want to work on a new feature or bug fix.

Creating a new branch
To create a new branch, you can use the following command:
git branch
git branch bug-fix
git switch bug-fix
git log
git switch master
git switch -c dark-mode
git checkout orange-modeImportant points:
- git branch - This command lists all the branches in the current repository.
- git branch bug-fix - This command creates a new branch called bug-fix.
- **git switch bug-fix - **This command switches to the bug-fix branch.
- git log - This command shows the commit history for the current branch.
- **git switch master - **This command switches to the master branch.
- git switch -c dark-mode - This command creates a new branch called dark-mode. the -cflag is used to create a new branch.
- git checkout orange-mode - This command switches to the orange-mode branch. Commit before switching to a branch Go to .git folder and checkout to the HEAD file
Guidelines for merging branches and resolving conflicts.
Before Merging:
- Pull the Latest Changes: Always make sure you have the latest version of the target branch (e.g., main or master) before merging. You can do this by running:
git checkout main
git pull origin main- Switch to the Branch You Want to Merge: Ensure you're on the branch that needs to be merged (e.g., a feature branch).
git checkout <your-feature-branch>Resolve Any Conflicts (If Any): If there are conflicts when rebasing or merging, Git will stop and highlight the conflicted files. You will need to resolve the conflicts manually in these files.
Resolving Merge Conflicts
There is no magic button to resolve conflicts. You have to manually resolve the conflicts. Decide, what to keep and what to discard. VSCode has a built-in merge tool that can help you resolve the conflicts. I personally use VSCode merge tool. Github also has a merge tool that can help you resolve the conflicts but most of the time I handle them in VSCode and it gives me all the options to resolve the conflicts.

- Identify Conflicts: Conflicted files will be marked with <<<<<<<, =======, and >>>>>>> in the file. For example:
- Mark Conflicts as Resolved: After resolving the conflicts, stage the file with:
git add <conflicted-file>- Complete the Merge: Once all conflicts are resolved and files are staged, you can complete the merge by committing the changes:
Copy codePull Requests(PR)
How to create a pull request
Step 1: Push Your Branch to GitHub
git push origin <your-feature-branch>Step 2: Navigate to Your Repository on GitHub
- Go to GitHub and log in.
- Navigate to your repository. Screenshot reference: The repository's homepage showing the list of branches and the latest commits.
Step 3: Click on "Compare & Pull Request"
- After pushing your branch, you’ll see a banner on the repository page with an option to compare and create a pull request.
- Click the Compare & Pull Request button. Screenshot reference: The banner with the "Compare & Pull Request" button highlighted.
Step 4: Fill in the Pull Request Details
Title: Provide a meaningful title that summarizes your changes. Description: Write a detailed description of your changes, why they are necessary, and any relevant context. Include screenshots or references to issues, if applicable. Base and Compare Branches: Ensure the base branch (e.g., main) and your feature branch (e.g., feature-branch) are correctly selected. Screenshot reference: The pull request form with the title, description, and branch dropdowns highlighted.
Step 5: Review Changes
- Scroll down to review the changes made in your branch.
- Verify the files and lines of code changed. Screenshot reference: The "Files Changed" section showing a side-by-side comparison of the changes.
Step 6: Submit the Pull Request
- Click the green Create Pull Request button to submit your PR. Screenshot reference: The "Create Pull Request" button highlighted.